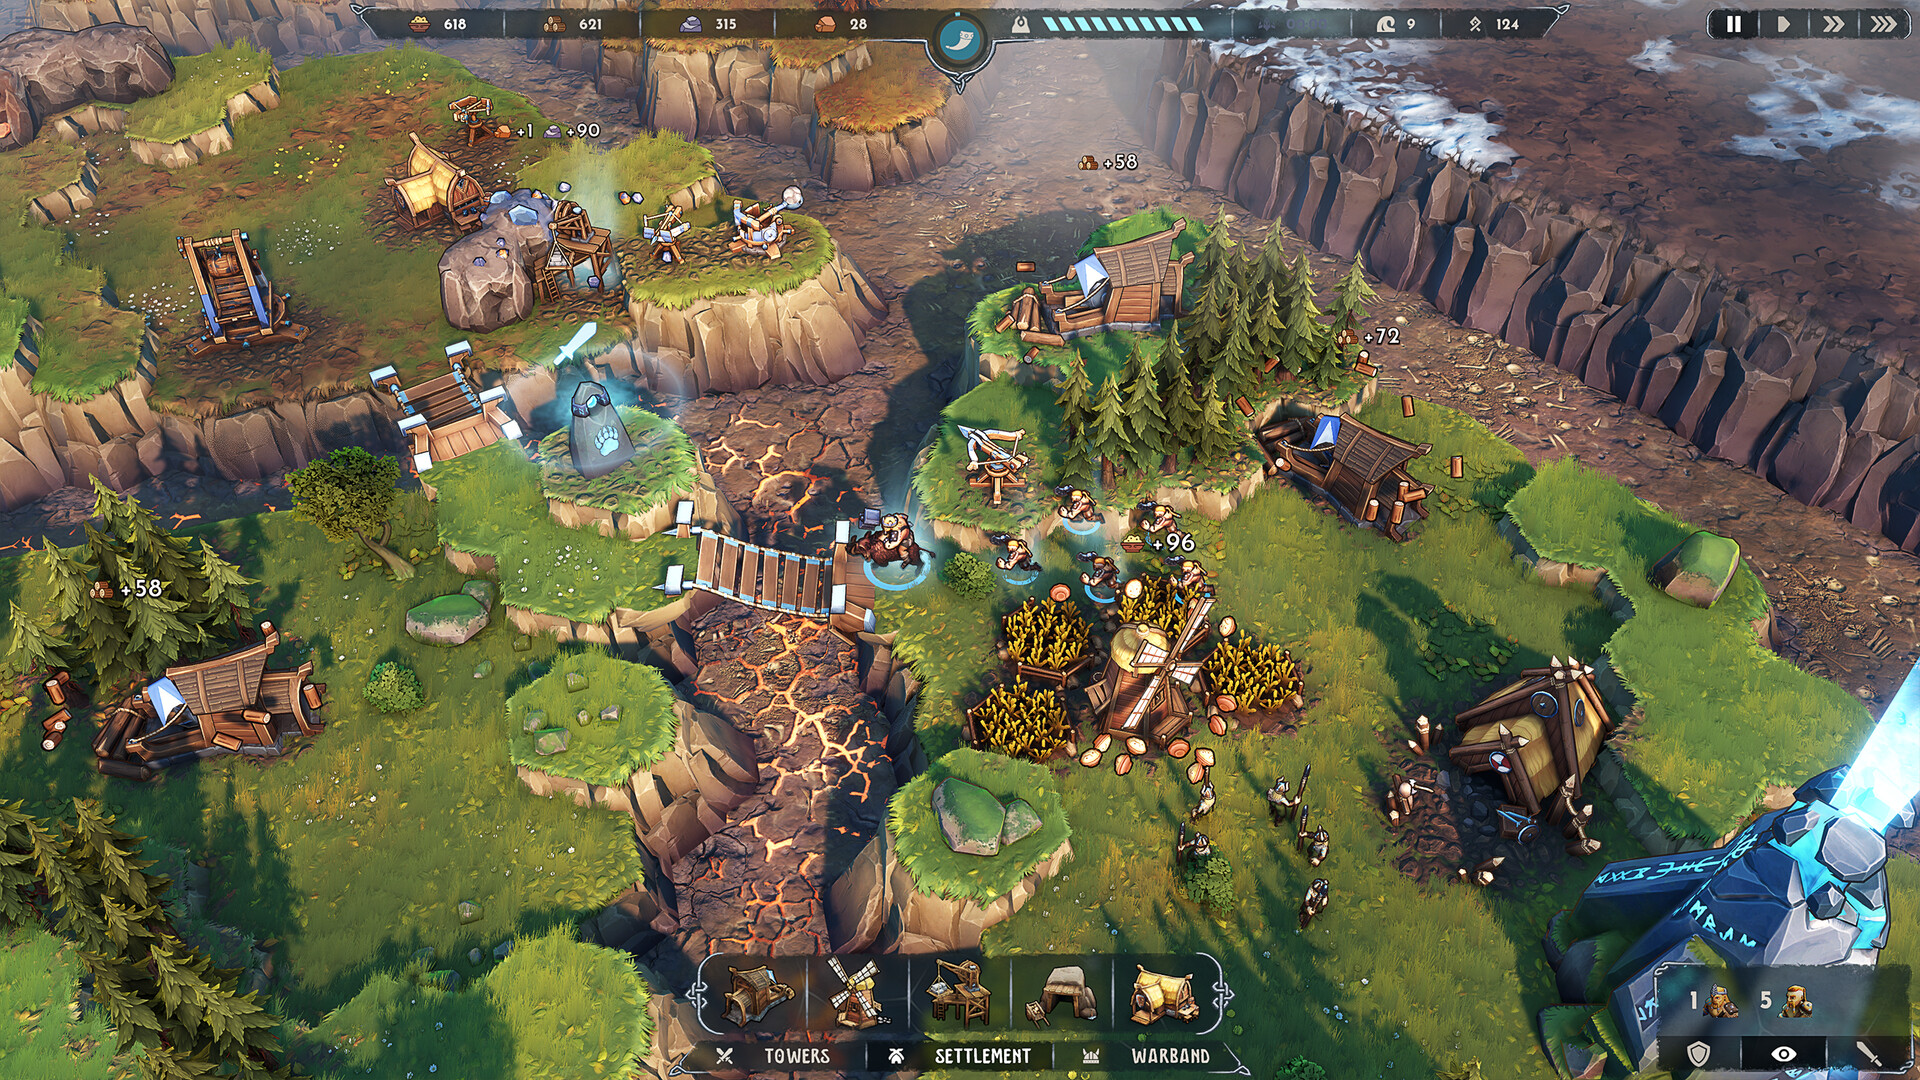
1. Enemy Bridge Building Exploitation (Free Bridges)
In Dawn of Defense, crossing chasms requires 25 Wood per bridge. However, hostile Imperial garrisons also attempt to build bridges toward your islands if they have an active spawner tent!
2. Aggro Cycling & Hero Kiting Mechanics
The Imperium Aeternum AI operates on strict proximity aggro targeting: units attack the first allied entity that enters their threat perimeter.
Frontline Cycling Technique: When advancing against shielded Legionnaires, send Hogvald forward to take the first hit, then immediately order him to take 3 steps backward.
The enemy line will commit to their forward attack animation, whiffing into empty air while your trailing Axemen close the gap and execute Chop Down on their unprotected flanks.
Trench Kiting: If a dangerous patrol or War Troll breaks past your barricades, use Hogvald’s high base movement speed to bait the target in a circle directly inside the Tarbarl caustic tar pool while your high-ground towers rain damage from above.
3. Tower Hitbox Chokepoint Blocking
Unlike games where defensive towers are purely decorative backgrounds, towers in Dawn of Defense have physical collision hitboxes on island plots.
Strategic Choke Creation: By placing a Boltskot or Tarbarl directly on the edge hex adjacent to a bridge anchor point, you physically block half of the entry corridor.
This forces wide enemy squads (such as marching Legionnaire ranks) to bottleneck into a single-file line, tripling the effective splash impact of Skullbrakkr catapult boulders.
Emergency Barricading: In high-difficulty runs, placing a cheap building foundation directly in front of the Spiridun buy an extra 6 to 8 seconds of stall time against raging bosses.
4. Wave Farming: Delaying Spawners for Economic Growth
A common novice mistake is instantly clearing every Imperial outpost on daytime maps.
Why You Should Delay: Destroying the final enemy outpost ends the wave cycle and forces the immediate onset of the next difficulty tier or boss night.
Instead, leave a single low-threat spawner tent alive on a distant island. Station 2 Spearmen at the bridge bottleneck to contain the trickle of minions.
While the spawner remains active, your Sawmills, Quarries, and Mead Halls will continue ticking, generating hundreds of extra Wood, Stone, and Gold to upgrade all towers to Tier 3 before triggering the Troll Rider boss wave!
Need to Test Your Numbers?
Use our interactive calculator to simulate effective tower DPS against Imperial waves.