Skullbrakkr
Heavy Catapult Swarm Annihilator
Overview
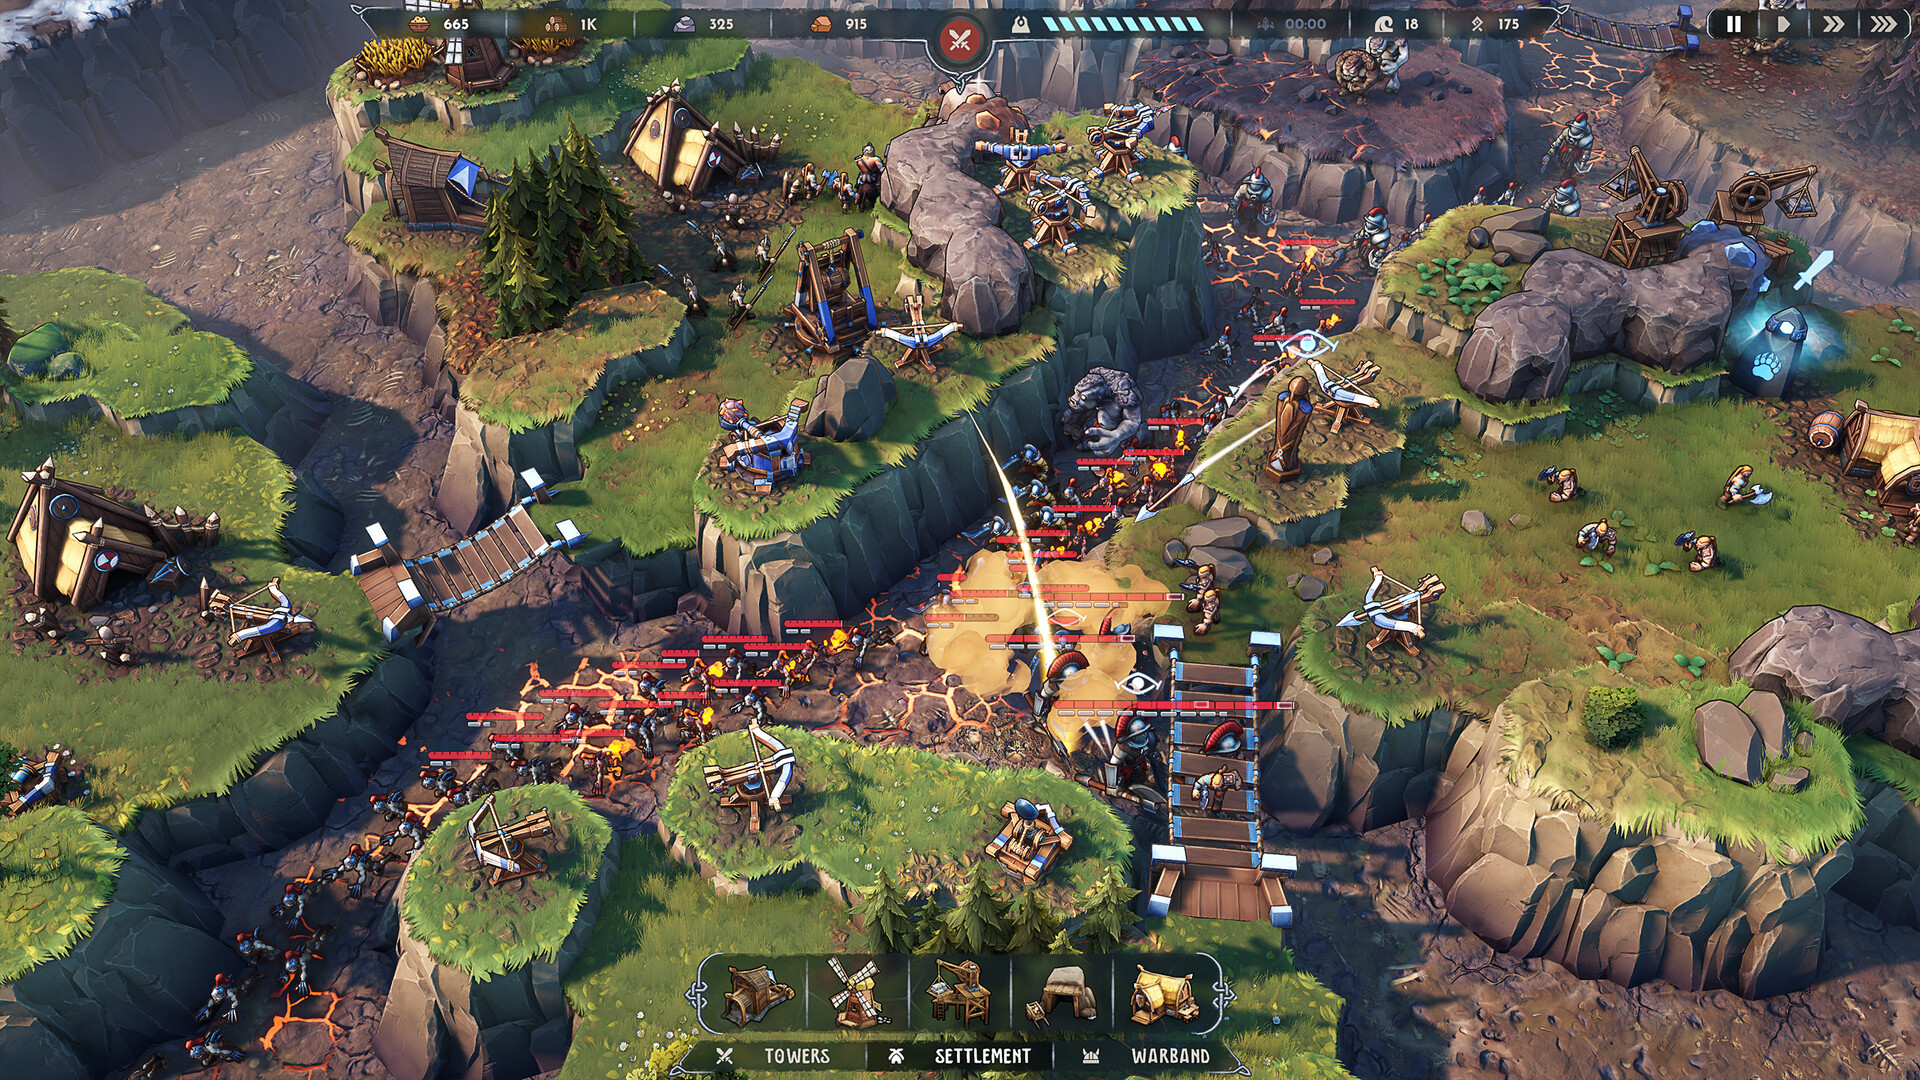
The Skullbrakkr is a massive counter-weight stone thrower constructed from reinforced timber and ancestral runic tension cords. It heaves enormous boulders high into the sky, crashing down into tightly clustered enemy marching columns in the lower trenches. It deals devastating area-of-effect damage, wiping out ranks of Imperial Skirmishers and light Legionnaires in a single impact.
Key Upgrades
Upgrades for the Skullbrakkr can be unlocked permanently via the meta-progression tree or drafted between waves as divine runestones:
Archaic Impacts
Expands blast radius by +35% and adds 1.2s ground concussive tremor.
Bygone Boulders
Boosts primary impact damage by +40%, fragmenting into shrapnel.
Timeless Visions
Extends maximum range to 7.8 hexes, allowing backline cliff coverage across dual trenches.
✓ Strengths
- Huge area-of-effect splash radius that obliterates pack swarms.
- Longest engagement range (6.2 hexes) among baseline defensive structures.
- Knocks back and staggers light infantry upon boulder impact.
- High burst damage softens armored waves before they reach frontline barricades.
✕ Weaknesses
- Long reload cycle (2.8 seconds) creates firing downtime.
- Minimum firing range radius (cannot fire at enemies directly below its cliff foot).
- Requires Stone from quarries, making it harder to build on Night 1.
Placement Tips
Position on interior highland hexes that give sightlines to 2 or more convergent trenches.
Ensure high-ground placement to bypass cliff obstructions.
Always protect Skullbrakkr dead-zones with a complementary Boltskot or melee unit patrol.