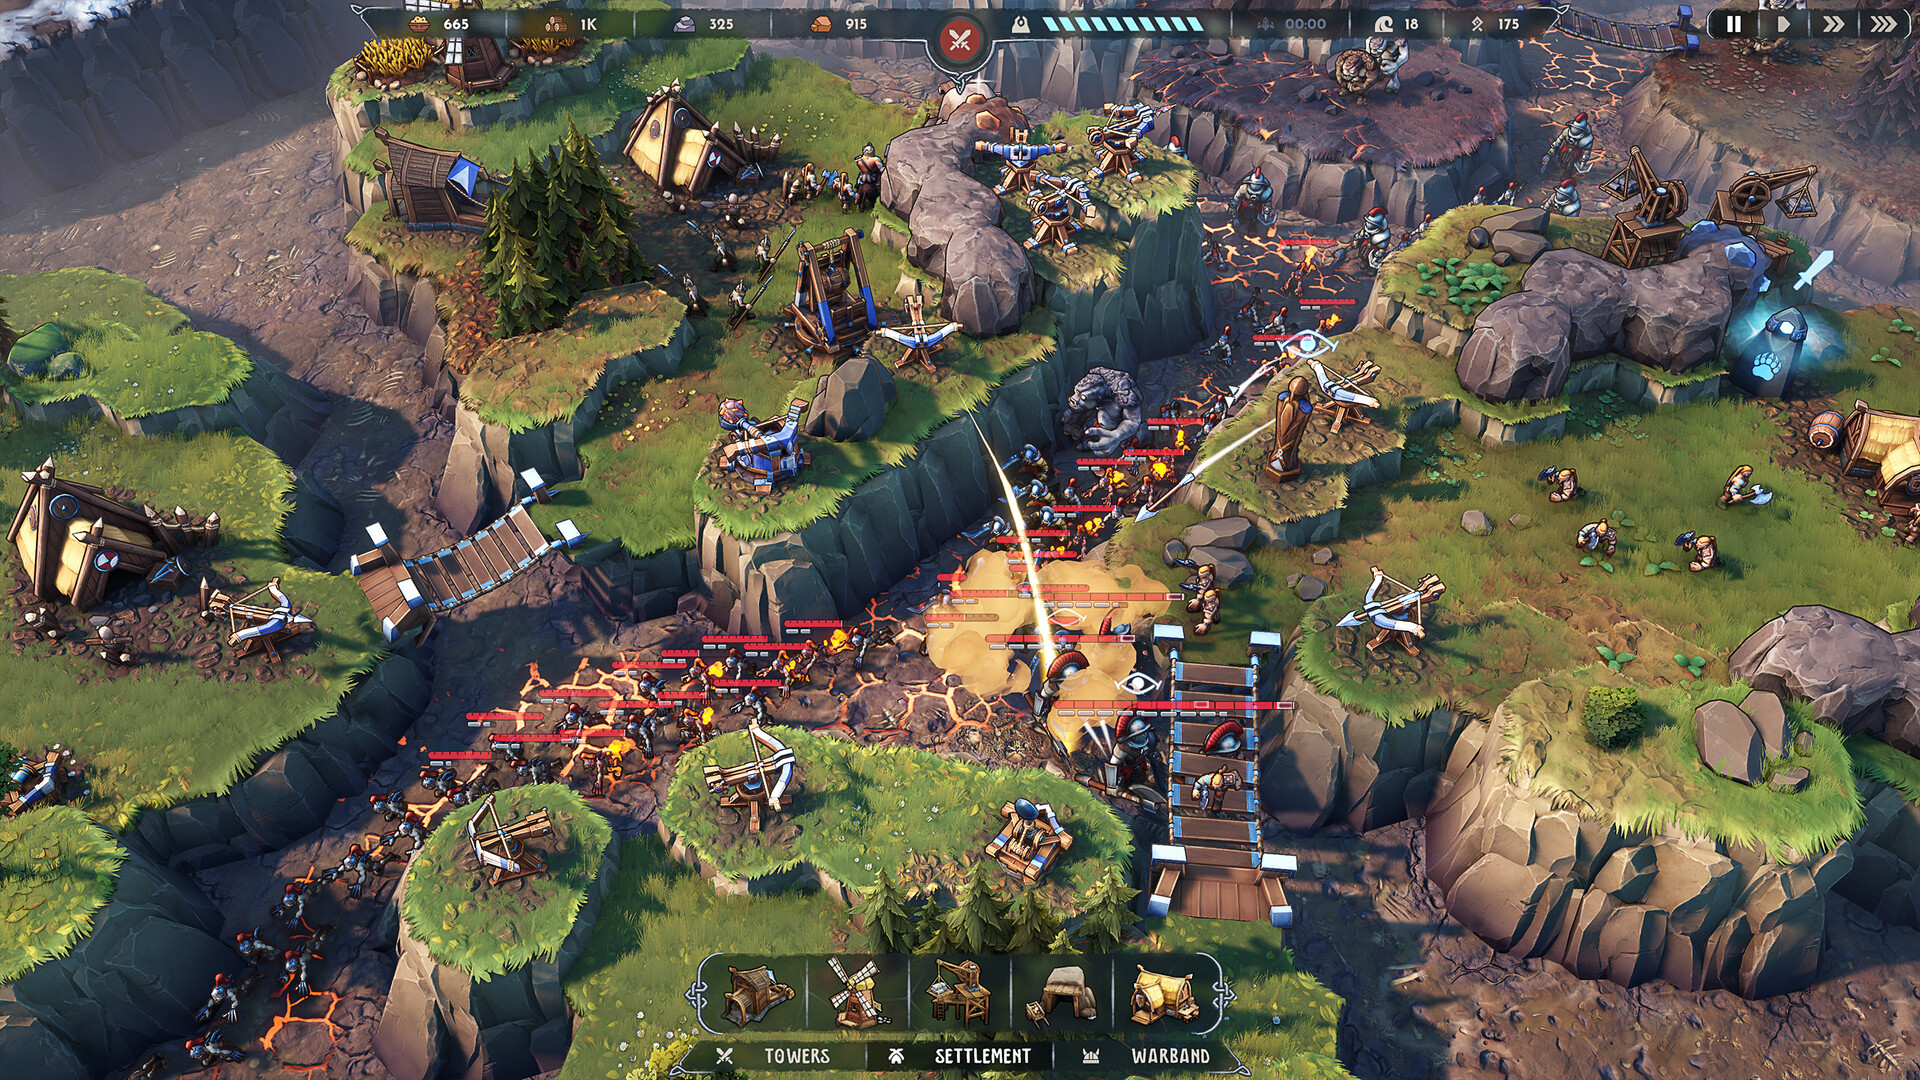
1. The Golden Triangle of Tower Synergy
Dawn of Defense features 3 core defense towers with complementary mechanical roles. The most effective defense layout combines all three in a specific geographic triangle:
2. Trench Geometry & Dead-Zone Elimination
Understanding blind spots is crucial. The Skullbrakkr catapult has a minimum firing range; if an enemy walks directly beneath its cliff base, it cannot fire.
Always offset your Skullbrakkr by 1-2 hexes behind your Boltskot line. This positions the catapult’s optimal impact zone squarely on top of the trench choke point while keeping it protected from direct assault.
Straight Line of Sight for Boltskots: Boltskots lose efficiency if firing across perpendicular trench walls due to wall clipping. Position them to look lengthwise down trenches so every bolt travels the full length of the enemy marching column.
3. Dealing with Armored Trolls in Late Waves
War Trolls have 520+ health and prioritize smashing defensive structures. If an armored Troll reaches your cliff base, it will begin pulverizing tower pilings.
Setting Targeting Priority: Always set your primary Boltskot to target "Highest Armor / Highest Health". Do not let it waste shots on 10-HP skirmishers when a Troll is approaching.
Trench Barricades & Spearmen Stall: Place wooden trench barricades or station a squad of 2 Spearmen in Braced Stance at the trench exit. Even holding a Troll for 4 seconds gives your towers enough time to land 6 heavy bolts and 2 boulder impacts.
Need to Test Your Numbers?
Use our interactive calculator to simulate effective tower DPS against Imperial waves.