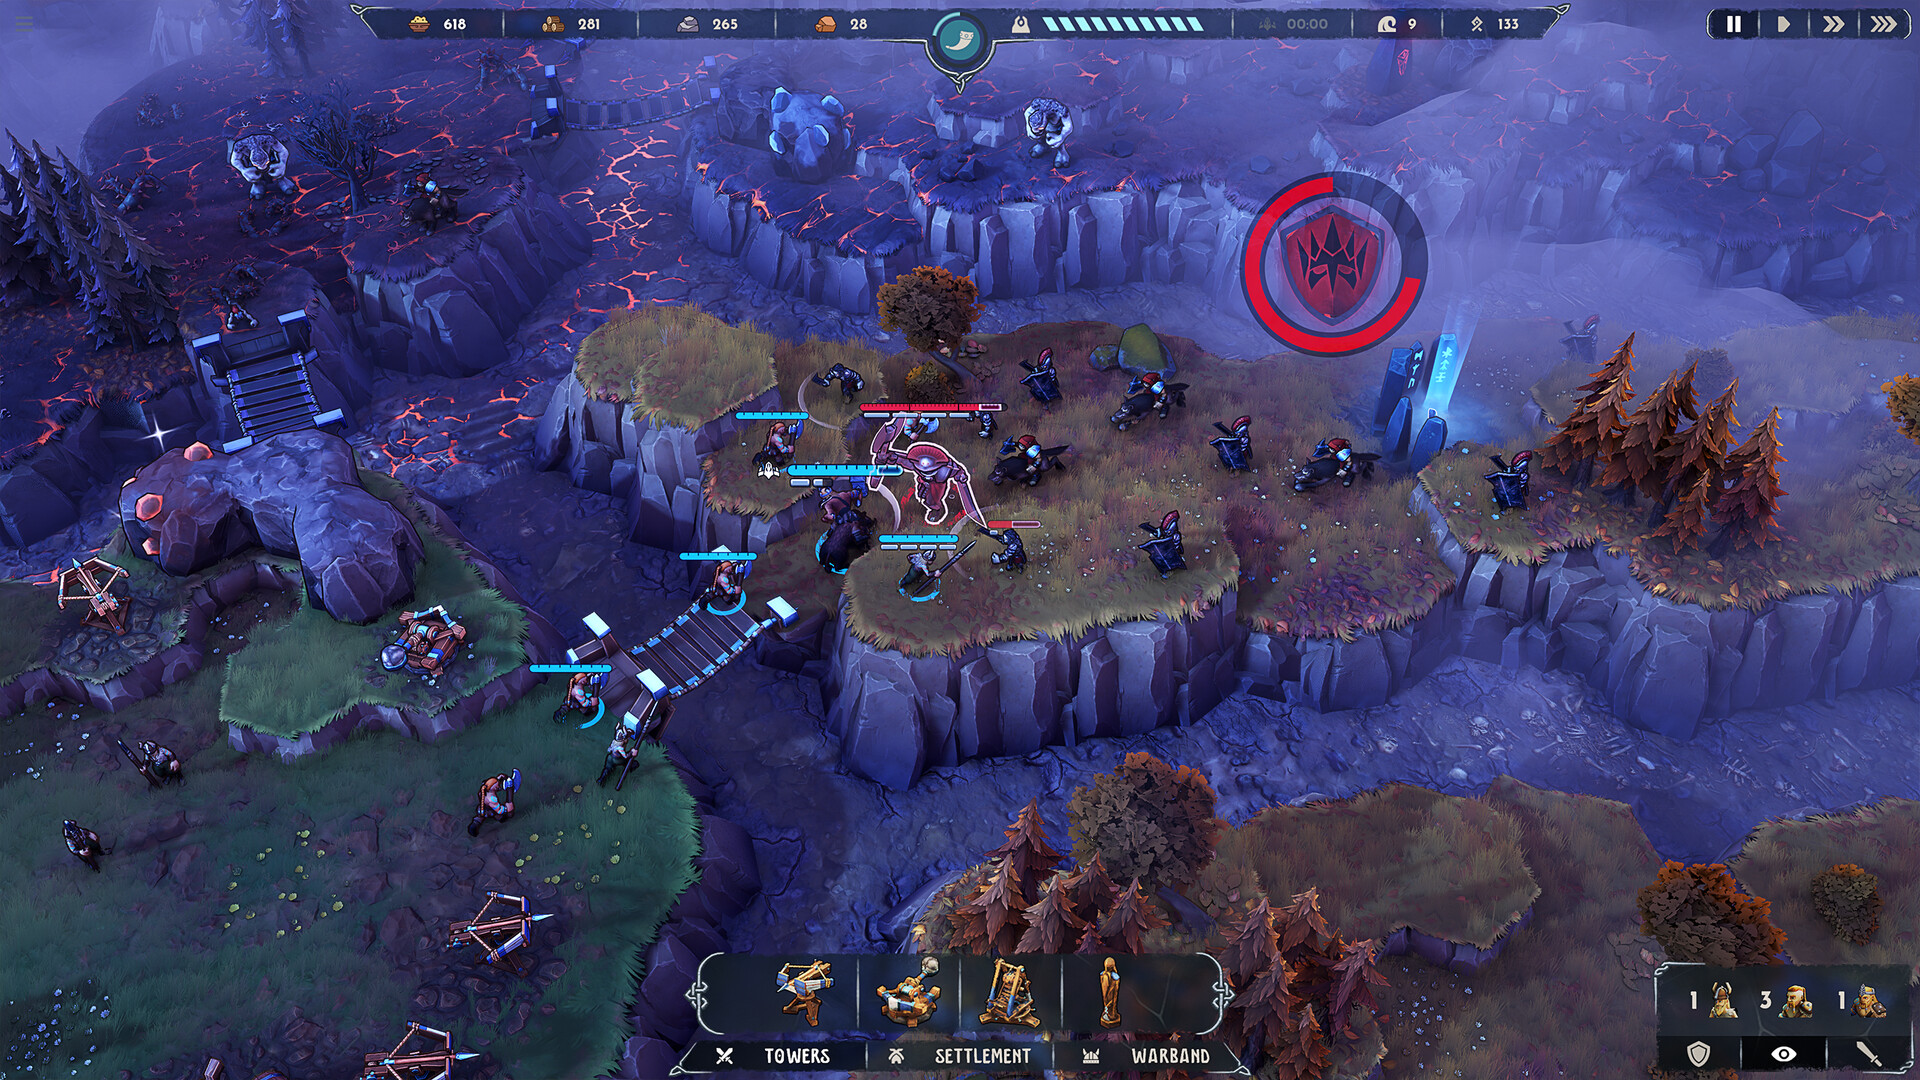
1. Boss Overview & Core Stats
The Troll Rider is the first major milestone boss encounter in Dawn of Defense. Riding an armored war troll, an Imperial Centurion leads this assault with 1250 Health and heavy forged carapace armor.
His primary attacks include a wide-arc halberd sweep that shreds infantry and a seismic Ground Stomp that stuns all defenders in melee range for 2.5 seconds.
Under 50% HP, the boss enters an Enraged Charge phase, picking up 40% movement speed and attempting to plow straight through defensive barricades toward the Spiridun.
2. Required Defensive Grid Before Boss Night
Do NOT trigger the boss wave until you have established the following minimum infrastructure:
- At least 2 Boltskots upgraded with "Piercing Tips" (Level 2 recommended).
- 1 Tarbarl placed at the primary bend with "Caustic Solutions" unlocked.
- 1 Skullbrakkr with "Bygone Boulders" to soften the escorting legions.
- A garrison of 2 Spearmen stationed just past the tar zone to absorb the enraged charge.
3. Phase-by-Phase Execution Guide
Both Boltskots must be manually targeted or calibrated to focus-fire the boss. Watch his HP melt under Piercing bolts.
The Spearmen will absorb the impact and take the stun, pinning the boss inside the tar field for 4 additional seconds. Hogvald can now flank from behind and pop Battle Cry + Cleaving Whirlwind to finish the remaining HP!
Need to Test Your Numbers?
Use our interactive calculator to simulate effective tower DPS against Imperial waves.