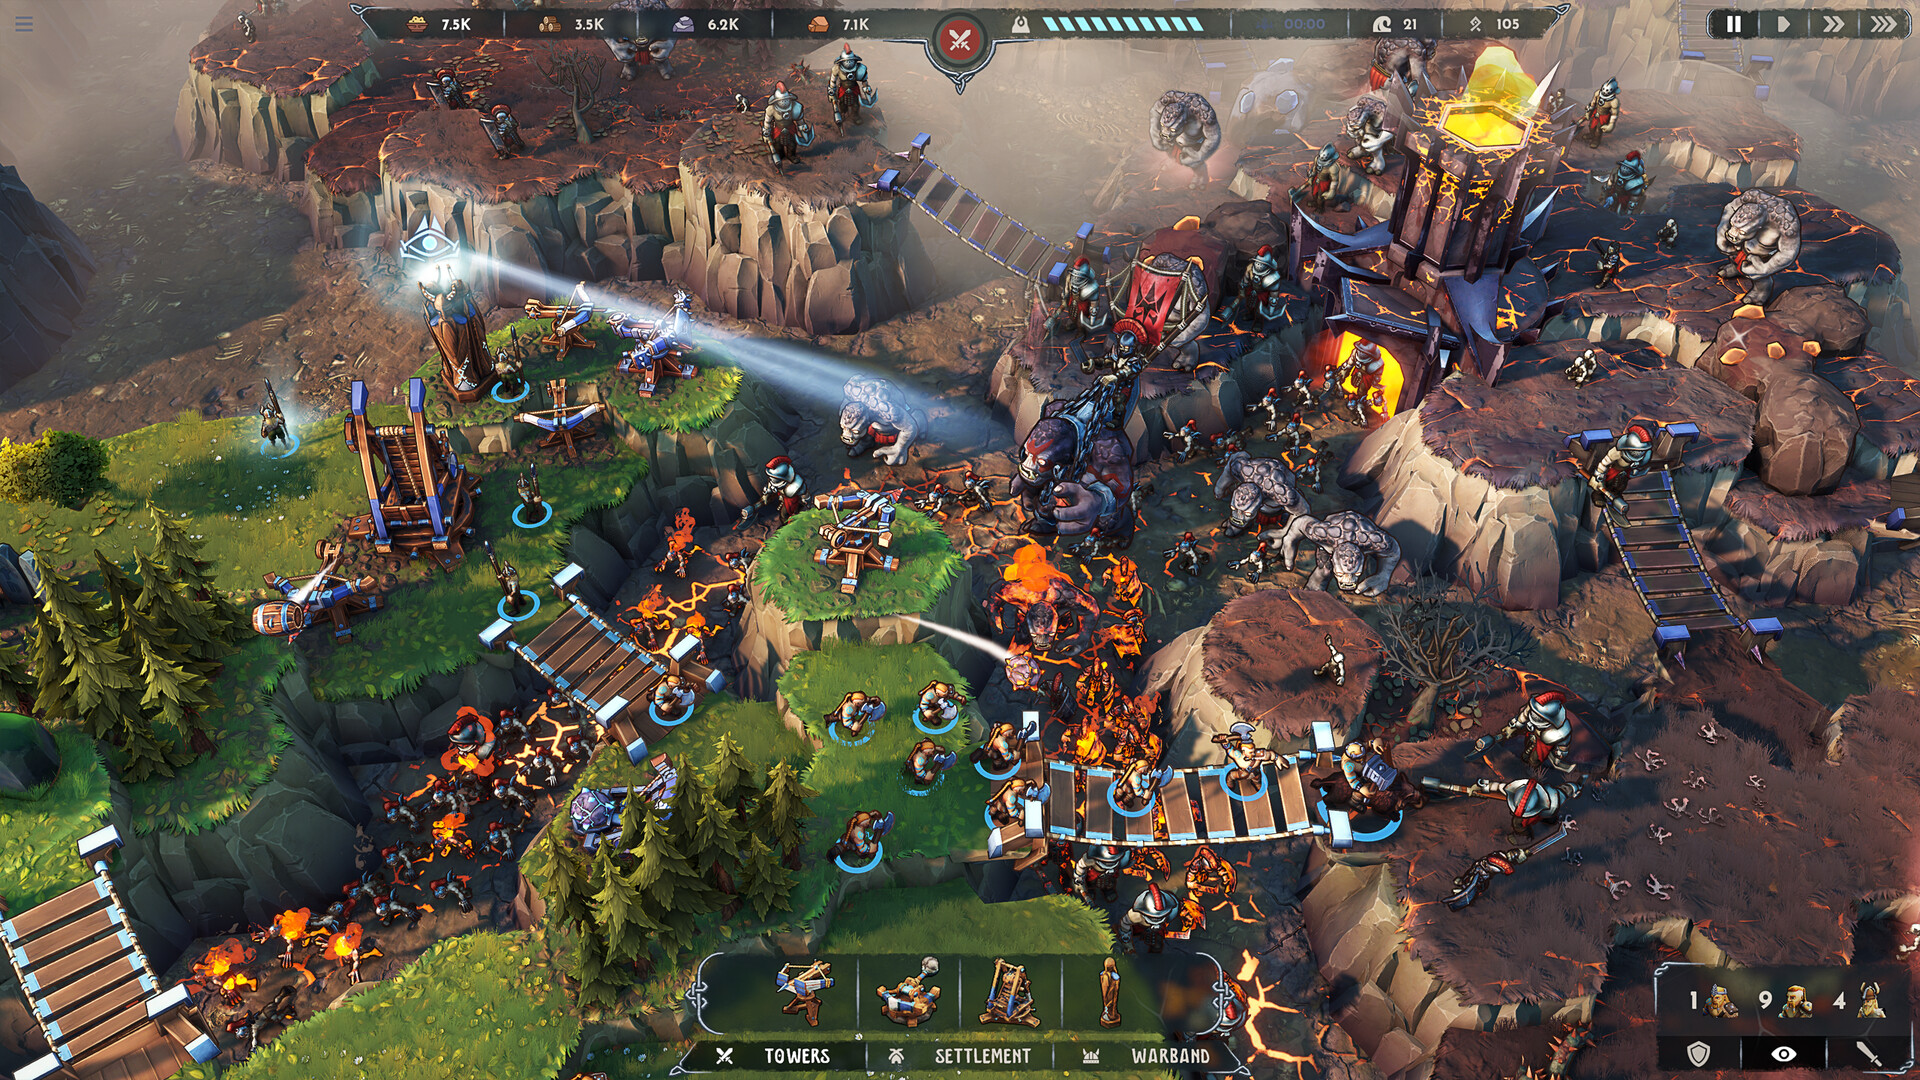
1. Understand the Dual-Front Split: Trench TD vs Island RTS
The single most important concept in Dawn of Defense is understanding the division of labor between your static defenses and your mobile army.
TOWERS DEFEND THE TRENCHES: The automated fortifications you build on high cliffs (such as the Boltskot ballista and Tarbarl launcher) are designed specifically to target enemies marching through the lower trenches toward the Spiridun.
UNITS COMMAND THE ISLANDS: Your Hero (Hogvald) and tribal warbands (Axemen, Spearmen) are primarily meant to cross bridges, clear hostile outposts, secure resource plots, and capture Runestone Altars.
2. Day 1 Step-by-Step Blueprint: The Economy Kickstart
When you spawn at the Spiridun, you have a limited daylight clock before the first wave arrives. Follow this exact sequence:
3. Night 1 & 2 Defense: Placement and Angle Rules
Night 1 waves consist of light Imperial Legionnaires and unarmored footmen. A single, well-placed Boltskot at a cliff bend can defeat this entire wave without breaking a sweat.
Elevated High-Ground Advantage: Towers built on cliffs receive sightline priority and can shoot over terrain hurdles. Never place towers on sunken trench bottoms!
Overlapping Firing Cones: By Night 2, build a second Boltskot. Ensure their range circles intersect at the sharpest trench bend to establish your first "Killzone".
4. Night 3: Preparing for Armored Threats and Tarbarl Tech
On Night 3, the Imperium introduces armored Legionnaires carrying iron shields that reduce frontal bolt damage. If you rely solely on raw ballistas, the front line will creep dangerously close to the Spiridun.
Introduce the Tarbarl: By Night 2’s end, construct a Tarbarl (85 Wood, 25 Stone) placed right at the entryway to your killzone.
The Tar effect slows the entire marching column by 45%, stacking enemies together and turning them into easy target practice for your Boltskots.
Choose the "Piercing Tips" or "Caustic Solutions" Runestone between waves to eliminate imperial armor penalties.
Need to Test Your Numbers?
Use our interactive calculator to simulate effective tower DPS against Imperial waves.